
e a s y ][ 45 minutes
cost: $5 or less
shop at: your house, a fabric store
read: the instructions once though before you get started
I made a few of these after I read a tutorial in a craft book.
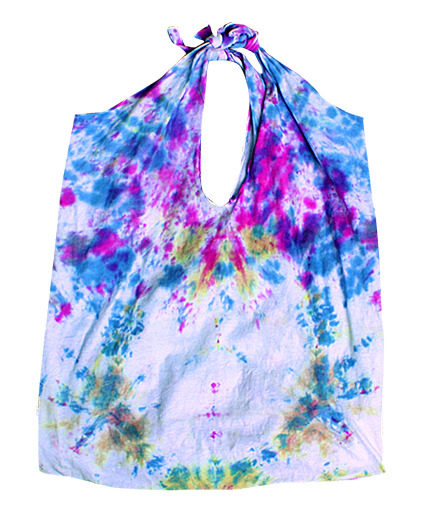
One is a beach novelty tee, and one is an old camp tie-dye shirt.
It's super quick, I thought you guys would like to try it. (:
SUPPLIES
- 1 t-shirt no one wants to wear anymore
(the size of the shirt will be the size of your bag)
- scissors
- sewing machine or needle & thread
- the ability to sew a straight line
1. Turn the shirt inside out.
2. Sew the bottom of the shirt shut. Go over the line of stitches a few times. Go back and forth on the sewing machine or do a zillion whip stitches if you're working by hand.
3. Turn the shirt rightside out.
4. Cut off the sleeves and neckline/collar, neatly.
5. Cut the sleeves into 2-3" strips, however you like.
6. Tie the strips around the top of the bag, where the shoulders used to be. You can leave this part off if you like, they're just handle accents.
7. Done! These make great totes for the beach, because if you get sand all over it, it's just an old shirt! Who cares x)
TIP: In step 2, you re-enforce the stitching because it's the bottom of the bag, and that's where the weight of its contents really puts pressure on the bag.
ALTERNATIVE IDEAS: Play with how you cut the sleeves and neckline off to create different styles. You can have your friends sign it or doodle on it, make it your own!
be sure to check out my other projects!
DIY #4
♥ I worked really hard on this tutorial. It took a long time to prepare.
I wrote out these instructions and took the photos.
So if you see this anywhere else, it's not the original.
original polyvore post date: 7/17/10

tie dye :)
ReplyDeleteawesome~ this is soo my new fav blog!!!
ReplyDeleteAMAZING im totally making this for my best friends birthday :D
ReplyDeleteAWESOMENESS
ReplyDelete