[white letters / R.E.M. lyrics]
m e d i u m ][ 3-8 hours
cost: $8 or less, depending on what you already have
shop at: your house, an art store, office supply store
read: the instructions once though before you get started
I've seen a lot of photos where people have done this, very successfully!
It takes time but the effect makes it worthwhile.
This is how I did it.
SUPPLIES
- basic computer and math skills
- printer, filled with ink or toner, hooked up to your computer.
(color is cool, but black and white will work too!)
- regular ol' 8.5x11" office paper
- xacto knife (#11 is my choice size) and blades
(you can do it with scissors but it'll take longer)
- ruler (metal works best)
- safe, flat surface to trim on (cutting board or an old table)
- painters' tape (optional)
- pencil
- poster putty or scotch tape
(whatever is safe for your wall.
if you use tacks, get clear or something that goes with your theme)
0. Clear a large space of wall where you want this to go. Give yourself more room than you think you need.
1. First, decide what you want the message on your wall to say. A lot of people like choosing a line from a song, or a thoughtful quotation. You can pick whatever you want. Consider the length of what you choose; a short phrase will take less time than a long phrase. Often, just one word can be very effective.
2. Now, you plan. Type up the phrase you chose. Make sure you've spelled everything right. Don't trust spell check, double check it, have a friend read it, read it out loud. I'm not joking, you'll kick yourself later if something is wrong with it.
3. To paraphrase one of the most important parts of typography, "decide what you want each line to look like". You should break each line so it flows readably. See the difference between these two?
[bad]
YEAH, YOU'VE GOT THAT
SOMETHING, I THINK YOU'LL
UNDERSTAND, WHEN I'LL SAY
THAT SOMETHING, I
WANT TO HOLD YOUR HAND.
[good]
YEAH, YOU'VE GOT THAT SOMETHING,
I THINK YOU'LL UNDERSTAND,
WHEN I'LL SAY THAT SOMETHING,
I WANT TO HOLD YOUR HAND.
Eyes get upset if they have to jump too harshly, and it ruins the moment.
If you don't get it, don't worry about it too much, just do what feels right to you.
4. Below your typed phrase, make a list of how many of each letter or punctuation you'll need. For example:
THE ONLY THING
THAT INTERFERES WITH MY LEARNING
IS MY EDUCATION.
a: 3
c: 1
d: 1
e: 6
f: 1
g: 2
h: 4
i: 6
l: 2
m: 2
n: 6
o: 2
r: 3
s: 2
t: 7
u: 1
w: 1
y: 3
periods: 1
[total letters + punctuation to cut out = 54]
To speed up the counting process, use the Edit > Find feature, available in most typing software.
Print out your nicely typed/spaced phrase page for later reference.
5. Now it's time to print. You can use the letter templates I've provided. (link is at the end of the instructions, includes sizing guide) Print out however many of each letter and punctuation you need.
Play with the scale settings before you hit print. Make sure you keep the scale percentage you choose consistent for each page you print. You want the letters to be the same size as each other.
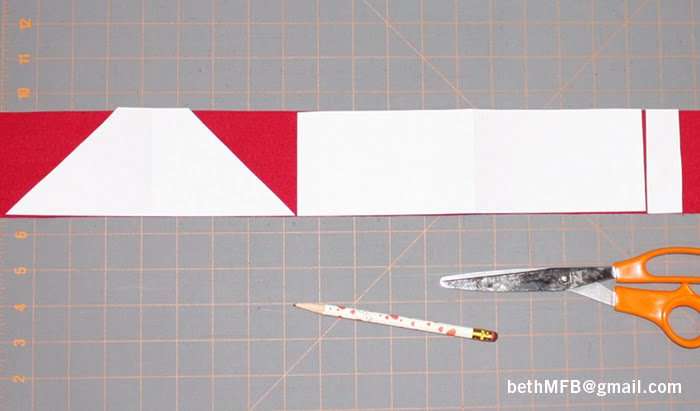
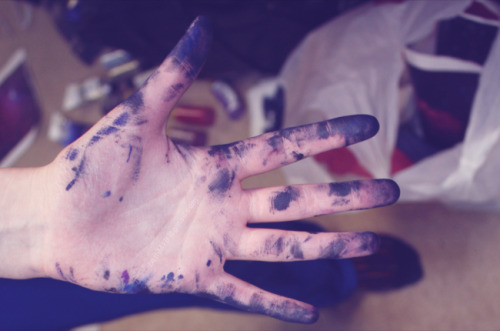
6. Trimming time! Put on some music if you haven't already, it'll keep you calm and scare off boredom. Using your xacto and ruler, cut out each letter, just inside the black line. The letters will look good if they're white, with no outlines showing.
(Lay the paper flat, line up the ruler against the edge of the letter, hold the ruler with one hand and use the other hand to hold the xacto. Hold the exacto at around a 45 degree angle to max out the life of the blade.)
Curves are hard to freestyle but you'll get the hang of it. (Maybe you could use the edge of your protractor from math class? I caved and used scissors a few times) Cut the curves first, then the straight lines, of each letter.
If you're feeling daring, you can cut out multiples of the same letter at the same time. Tape together a stack of blank paper with one letter outline at the top of the stack. I prefer to take my time trimming each separately.

7. Organize your cut out letters as you go. You may want to have a folder or stack for each letter, or make a stack for each word. Be sure to recycle/toss all your scraps. (or save them for a future reverse-letter project!)

8. On your wall, use a ruler (or one of those construction leveling things if you're fancy, with the liquid/bubble? haha) to draw lines in painters' tape or (very light!) pencil. (Dark walls? Use chalk)
You can play with line spacing (leading) to change the feel of your text. I've always felt that close together looks trendy, and double spaced looks dainty, like a poem. Haha
9. With the cheat-sheet you printed earlier handy, use a little bit of painters' tape to roughly hang up each word. Don't perfect it yet, this step is to help you arrange and double check that you have all the words in order and all the letters you need. You should notice if there's a typo, because you only have so many letters this time. Shift everything around until you are happy.

9. Now for the final hanging. Take down the first letter, remove the painters' tape, then put putty (or whatever you hang with) at each key point of the letter, so it will stick to the wall nicely. (this goes quicker if you have a friend help!) Hang it back up on the line. Repeat for each letter, keeping an eye on spacing. Don't be afraid to step back and check your work now and again.

10. Peel up the painters' tape (or erase the pencil lines) and bam!
Your wall looks awesome.
DOWNLOAD THE TEMPLATES (CLICK)
[outlined Helvetica, basic punctuation and numbers included. download to your comp + print. file is in .pdf format]
GOT 2 HOURS TO KILL?
Check out this documentary about Helvetica.I've seen it four times now, courtesy of art school.
TECHNICAL TIP: Some letters can be flipped, but some cannot. For example, "E"s cannot be flipped. The spaces on either side of the middle line are not equal.
SNARKY GRAPHIC DESIGNER COMMENT: Please, PLEASE make sure to space your letters evenly when it comes time to hang. The space between each letter is just as important as the actual letter.
TIP: Making your own templates? Capital letters are easier to line up and arrange than lowercase or mixed letters. I recommend using simple and clear serif or sans serif typefaces, like Garamond or Gill Sans. Also, choose colors carefully. If you use a goofy, curly, cracked, whatever typeface, where each letter if a different color, it might end up looking like your grandma tried to make a website, then accidentally put it on the wall.
ALTERNATIVE IDEAS: Instead of printing on plain white paper, you could get some cool textured paper, or colored paper. A lot paper types can go through the printer; experiment with a piece first, then do it for your whole phrase! Craft foam would be a durable choice, but keep in mind it'll be a bit more expensive, and you'll have to figure out a way to transfer the letter shape onto the foam before you can cut it out.
Consider making words you want to pop in a second color. This gives them meaning, whereas if every other letter is a second color, there is no meaning.
Letters like this would also look cool layered over a bulletin board or a collaged wall. Make it part of your already fabulous space!
CAUTION: Hang explicit phrases on your wall at your own risk. Consider your audience. I'm a fan of creating inviting spaces, not upsetting guests.
[feel free to use my photos! but please give credit, and don't edit w/o asking.]
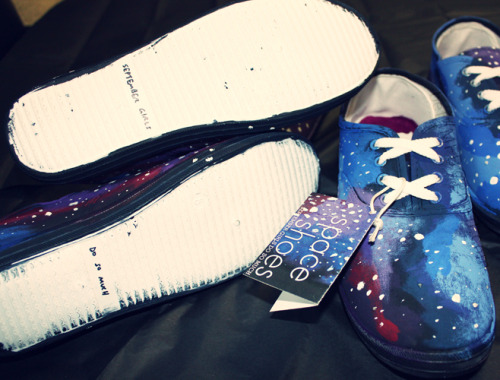
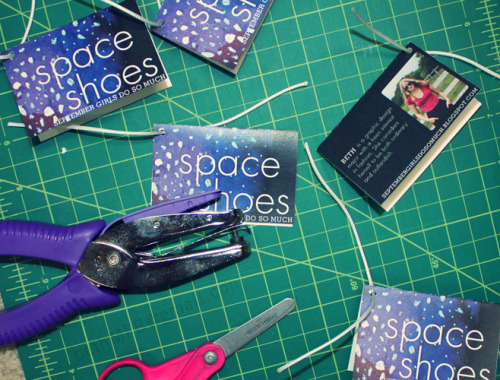
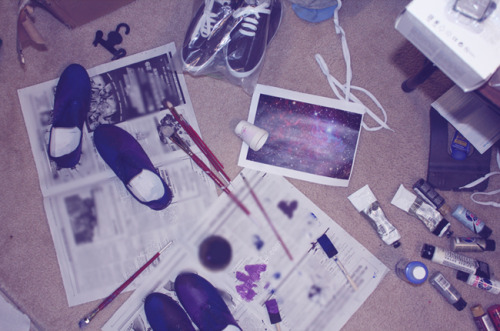
be sure to check out my other projects!
DIY #10
♥ I worked really hard on this tutorial. It took a long time to prepare.
I wrote out these instructions and took the photos.
So if you see this anywhere else, it's not the original.
1/1/11